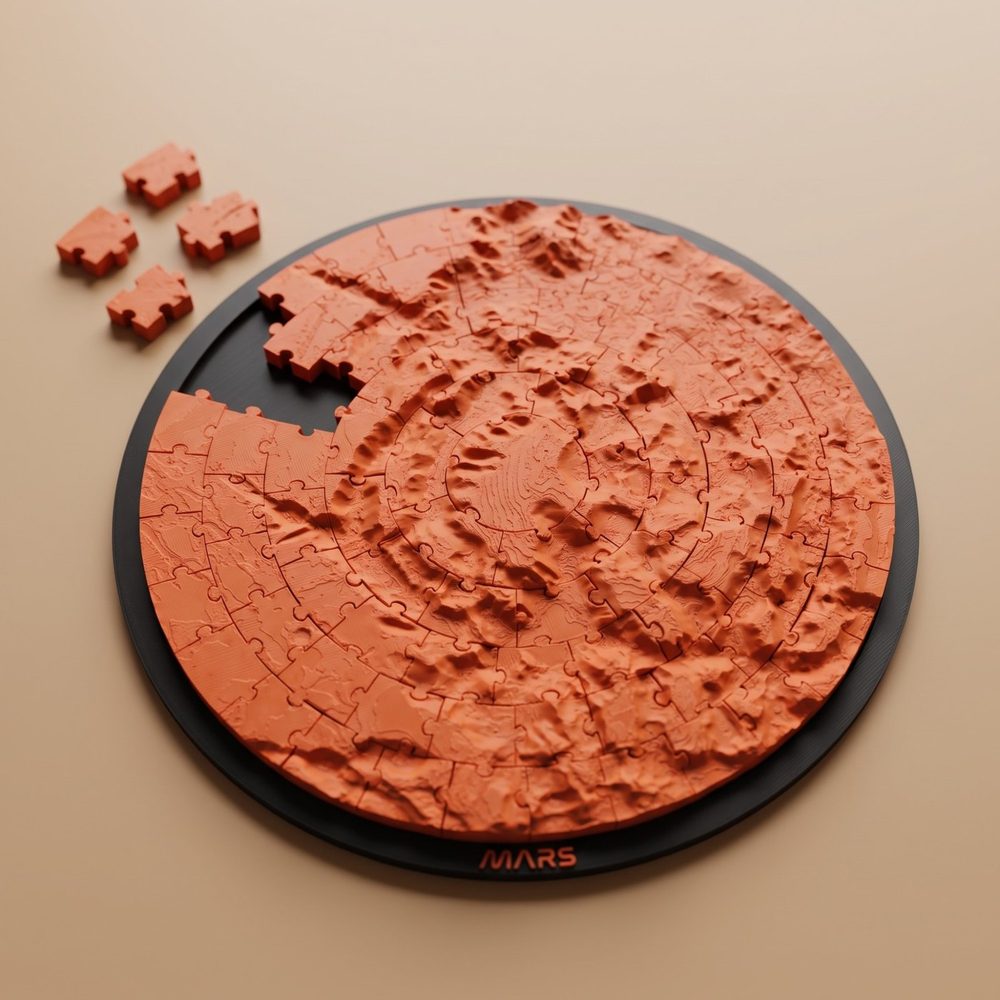
What elevation data exists for Mars?
The foundation is MOLA, the Mars Orbiter Laser Altimeter on NASA's Mars Global Surveyor. The US Geological Survey publishes a global elevation model built from it: 463 meters per pixel at the equator (128 pixels per degree), pole to pole, drawn from more than 600 million measurements gathered between 1999 and 2001. It is a single 2 GB file, released as CC0, public domain.
Each measurement is good to about a meter in height and about 100 meters in position, and USGS puts the total elevation uncertainty at 3 meters or more. The laser sampled the ground along the spacecraft's orbit tracks, so the grid is finer than the measurements in places: gaps of 1 to 2 km between tracks are common, some near the equator reach 12 km, and the model fills them by interpolation.
A sharper global product exists, with a condition attached. USGS's 200-meter blend lays elevation models from the stereo camera on ESA's Mars Express, HRSC, about 50 meters per pixel, over the MOLA grid wherever they exist: 44% of Mars in the current version. USGS lists it under two licenses, CC0 for MOLA and CC BY-SA 3.0 IGO for the HRSC part, which requires credit and requires anything built on it to be shared under the same license. That is why OrbitStudio builds from MOLA alone.
Finer still, for small areas, are terrain models made from pairs of images taken by the cameras on NASA's Mars Reconnaissance Orbiter: the Context Camera, at about 6 meters per pixel, and HiRISE, at about 30 centimeters. HiRISE terrain models have a point every 1 to 2 meters and a vertical precision of tens of centimeters, but each covers a strip no wider than a HiRISE image, about 6 km. For the Perseverance landing, USGS built mosaics of Jezero Crater from both: one from the Context Camera at 20 meters per pixel and one from HiRISE at 1 meter.
Finer is not always more useful. On a 200 mm print of a region 600 km wide, the size of Olympus Mons, one 463 m pixel is about 0.15 mm across, narrower than the line a standard 0.4 mm nozzle lays down. On a 45 km crater such as Jezero the same pixel is 2 mm wide: the whole crater is under 100 samples across, and that is where the sharper products earn their size.
How does elevation data become something you can print?
An elevation model is a grid of numbers in which each pixel holds a height rather than a brightness. To print it, software turns the grid into a surface of triangles, adds side walls and a flat base so that it becomes a closed solid, and scales it to millimeters. The result is a mesh file, which a slicer cuts into layers and turns into instructions for the printer.
Mars adds one wrinkle: it has no sea level. The heights in the MOLA model are measured from the areoid, a reference surface worked out from the planet's gravity, so a height on Mars can be negative. A printable mesh does not need that zero: it is built up from the lowest point of the region you chose.
Two formats matter. STL describes surface geometry only: triangles, with no color and no units, so a terrain arrives as one uncolored shape whose scale the slicer has to assume. 3MF has a defined unit of scale and can carry color and several materials in one file, so a part can arrive in the slicer already colored.
How much should you exaggerate the terrain?
Little or none for Olympus Mons and Gale Crater, which read at true scale, and 2x to 4x for canyons and shallow craters. Mars spans about 30 kilometers from its lowest point to its highest, one and a half times the range on Earth, but its landmarks are far wider than they are tall: Olympus Mons rises about 22 km over a width of about 600 km.
The 30 kilometers are from NASA's first global 3D map of Mars, made with the same laser altimeter. A worked example of what they come to in plastic: say a 200 mm print covers a region 600 km wide. One millimeter on the model is then 3 km on Mars, and at true scale, 1x, that holds for height too. Olympus Mons's 22 km becomes about 7 mm: a broad dome, clearly there. A crater rim 500 meters high becomes 0.17 mm, little more than a single 0.12 mm layer. At 3x the volcano stands about 22 mm tall and the rim 0.5 mm, four layers.
Other landmarks start lower. Valles Marineris, up to 11 km deep, is only about 2 mm deep on a model that takes in 1,000 km of it, and wants 2x to 4x before it looks like a canyon. Shrink the whole of Mars, about 6,792 km across, to a 200 mm globe and its entire range of heights comes to under 1 mm.
Exaggeration is simply a multiplier on every height, and it is your choice. It changes nothing horizontally, so craters keep their positions and widths; what it gives up is true proportion, in exchange for relief you can see and feel.
What are the ways to do it?
There are three practical routes, and they differ mainly in how much finishing is left to you. NASA's Mars Trek hands you the bare terrain of an area as an STL or OBJ. QGIS with the DEMto3D plugin gives you every setting and one single-color STL. OrbitStudio builds a finished jigsaw puzzle or ornament, with its frame and colors, from a region you pick on a globe.
The first, Mars Trek, is a NASA browser portal with nothing to buy or install. Among its tools is Generate 3D Print File, which makes an STL or an OBJ of an area you select on the map. Its global elevation layer is built from MOLA's grid of 128 pixels per degree, the same sampling as the USGS model. What you get is the terrain inside your selection: a frame, separate colors or puzzle pieces are for you to add in other software.
The second is QGIS, free and open-source GIS software, with the DEMto3D plugin, which exports an elevation raster to an STL ready for printing. You open the USGS file, a GeoTIFF, define the extent you want, adjust the scale, the vertical exaggeration and the base height, and export. The result is one STL with no color, at whatever resolution the file you opened has, so this is also the route for the sharper products above.
The third is OrbitStudio, which runs in the browser and builds the model on its server, with no CAD and no mesh repair. You pick any region of Mars or one of 45 built-in landmarks, choose a jigsaw puzzle or a solid ornament in a circle, square or hexagon, and set the exaggeration, size, piece count, base thickness, frame and text. It reads the MOLA model at up to 463 meters per pixel; regions wider than 7 degrees, about 415 km, are built from a coarser version of the same data, at 1,852 meters.
The download is a zip of STL files and a zip of pre-colored 3MF files for Bambu Studio or OrcaSlicer, with the terrain and the frame as separate files. Generating and previewing are free without an account, a free account adds puzzle slicing, frame text and a library of three models, and downloading takes one model at $4.99 (€4.99), a Plus or Merchant plan, or one credit from a backer's pass. The pricing page has every price.
- Mars Trek: free; an STL or OBJ of the area you select; frame, colors and pieces are yours to add.
- QGIS with DEMto3D: QGIS is free and the plugin has a free edition; you set extent, scale, exaggeration and base; one single-color STL, from any elevation file you open.
- OrbitStudio: puzzle or ornament in a circle, square or hexagon, with a frame; STL and pre-colored 3MF; free to generate and preview, $4.99 (€4.99) to download one model.
How should you slice and print it?
Flat on its base, terrain up, at a fine layer height. A model made from a height map has one surface height at every point, so nothing overhangs, and standing on its base it needs no supports. The layer height sets the smallest step in height the print can show, which is why it and the exaggeration are best chosen together.
For more than one color, a multi-material unit does the swapping. With Bambu Lab's AMS, Bambu Studio lets you bind a filament to each object or part, then maps the project's filaments to the AMS slots by color and material type when you send the print, so a 3MF whose parts are already colored mostly needs checking. On a printer with one spool, a color change at a chosen layer does it by hand: the printer pauses, you swap the filament, and the print carries on in the new color.
Mars itself needs only one filament. OrbitStudio's Mars colors start at a matte terracotta and run through dark red, brown and caramel to a metallic copper; the color you pick travels in the 3MF, and the frame is a separate file, to print in whatever sets the terrain off.
The settings below are the ones OrbitStudio recommends for its own models. Printers, profiles and materials vary, so treat them as a starting point, and look through the sliced preview layer by layer, checking the geometry and wall thickness, before you start a print.
- Layer height: 0.12 mm to 0.16 mm.
- Infill: 15% gyroid, for puzzles and ornaments alike.
- Supports: not needed; the model prints flat on its base.
- Filament: matte PLA hides layer lines; silk PLA highlights the curves of the terrain.
What will you not see in a print?
Anything smaller than the data. Curiosity and Perseverance are each about three meters long, and one sample of the global model covers 463 meters, so a rover is roughly 150 times smaller than a single sample. You print the ground a mission set down on, at its coordinates, not the hardware.
Fine structure goes the same way. The river delta in Jezero Crater stands about 40 meters above the crater floor, under 0.2 mm on a model that the crater fills. The graben on the floor of Olympus Mons's caldera, about 500 meters wide and under 200 meters deep, fall below the data, and so does anything HiRISE photographs at 25 centimeters per pixel, such as the layered sediments in a crater wall at the deepest point of Valles Marineris.
Small regions print soft for the same reason, which is why the smallest region OrbitStudio selects on Mars is about 23 km across. And any feature that ends up lower than one layer after exaggeration disappears into the flat.
Where should you start?
With one of the giants. Olympus Mons reads at true scale as a broad dome and turns into a mountain at 2x to 3x. Gale Crater, 154 km across, has Mount Sharp at its center, about 5 km high: roughly 6.5 mm on a 200 mm model that the crater fills, and the place Curiosity landed.
Valles Marineris is the canyon, best at 2x to 4x. Jezero Crater, where Perseverance landed, is the opposite of the giants: 45 km across and shallow for its width, printed for the place rather than the landscape, at 2x to 4x. All 45 built-in destinations, with their coordinates, are on the Mars page, and the same steps on the Moon are in the guide to printing the Moon. Or open the generator, switch it to Mars, pick any region, and turn it around in 3D, which is free and needs no account, before deciding anything.